Martian Star Trails
• James Hedberg
One the first things any budding astrophotographer will do is to make a star trail image. This involves taking a series of consecutive images of the night sky over usually a period of a few hours, then merging the images together so that the stars form circular lines in the sky, showing the rotation of the celestial sphere (really the Earth) over the course of an evening. They are usually very stunning images if done right.
Since I don’t have a good camera, and live in the light polluted confines of NYC, attempting one of my own is not really an option right now. However, we can simulate them quite easily with some software and a few lines of python. We’ll make it even a bit more fun and do the exercise on the surface of Mars!
There are many spectacular places on Mars to set up our virtual tripod. I’ve picked Gale Crater, where the rover Curiosity is currently making rounds, to try out this set up. We’ll use OpenSpace to do our simulations.
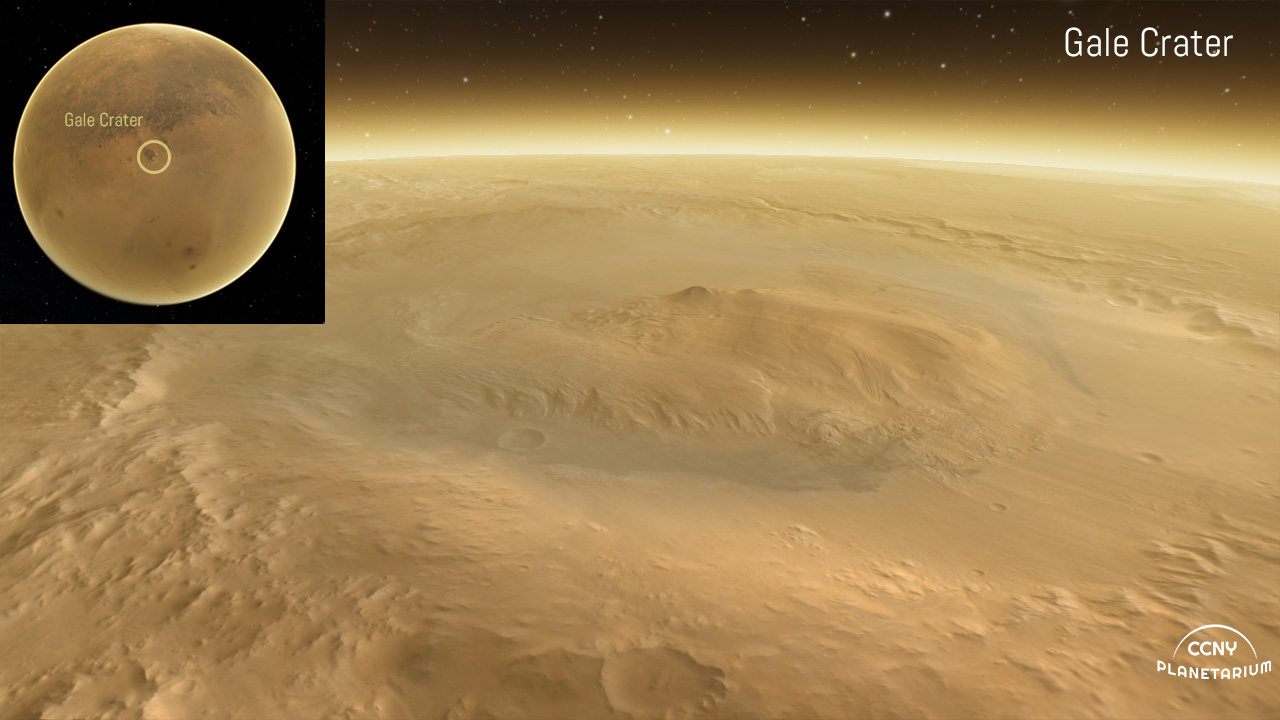
The first step is add a HiRISE digital terrain map (DTM) so we can get some amazing close up views of the terrain. There happens to be a great spot with a nice DTM available on the HiRISE site so we’ll start with that. You can read about how to do this here. After we’re done setting that asset up, we can fly leisurely around a 1 km deep chasm that may have been formed by running water many years ago.
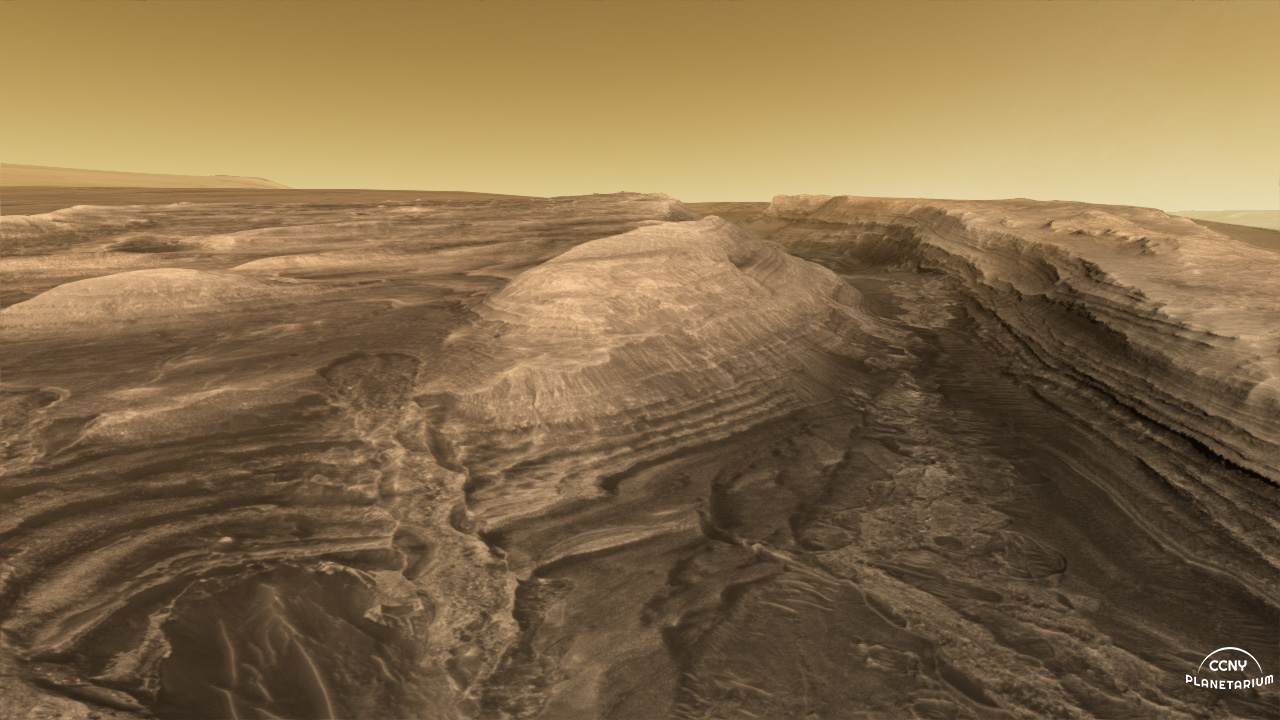
And of course, it’s always nice to see things in motion, so here’s a quick fly through of the crater.
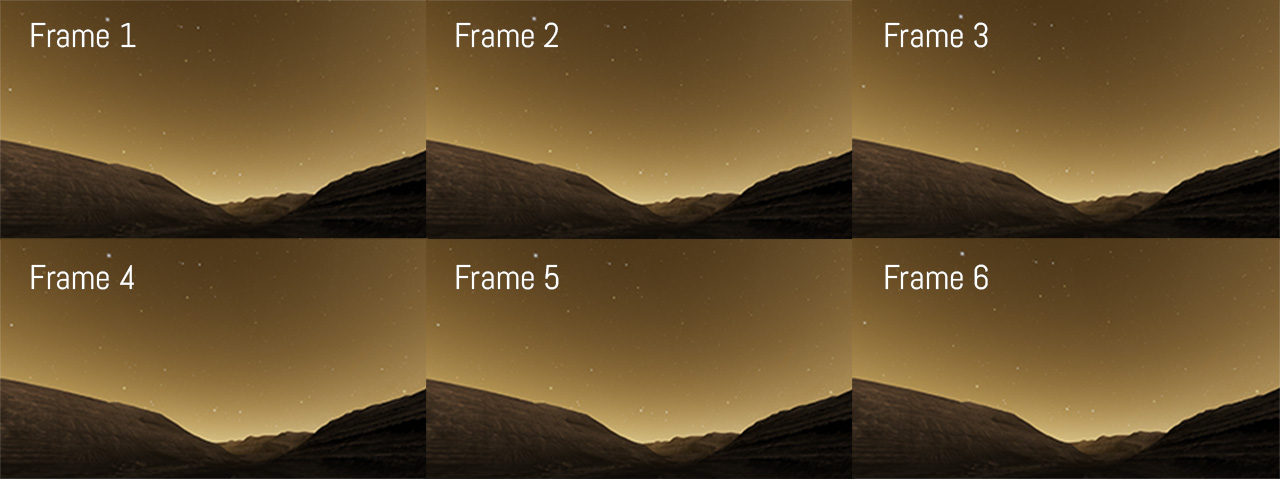
After we’ve found some suitable location to try a time lapse image, the next step is to program OpenSpace to take images at regular intervals. (We’ll write up a tutorial on this later, but things are still in flux so we’ll skip it for now.)
We set the ‘camera’ up to take an image once every minute or so for an hour. (Since it’s only a simulation, this of course didn’t take an hour, but about 30 seconds.) Here is a selection of what you get. Depending on your choice of setting, you can end up with either a few images, or several hundred or more. We usually find about 100 is good. Below are six frames from the sequence taken.
After you take all the images, the next step is to stack em. There are few options for this. You can use the built in stacking and layering commands with Photoshop or another photo editor. Or, for a more robust and customizable option, write a little python script to do it:
import os, numpy
from PIL import Image

imageDir = 'marspics'
files   = os.listdir(imageDir)
imagesToProcess  = [name for name in files if name[-4:] in [".png"]]
width, height = Image.open(imageDir+'/'+imagesToProcess[0]).size
theStack   = numpy.zeros((height, width, 3), numpy.float)
i = 1
for image in imagesToProcess:
    print ("Processing image " + str(i))
    image_new = numpy.array(Image.open(imageDir+'/'+image), dtype = numpy.float)
    theStack     = numpy.maximum(theStack, image_new)
    i  += 1

theStack = numpy.array(numpy.round(theStack), dtype = numpy.uint8)

output = Image.fromarray(theStack, mode = "RGB")
output.save("martian-star-trails.png", "PNG")
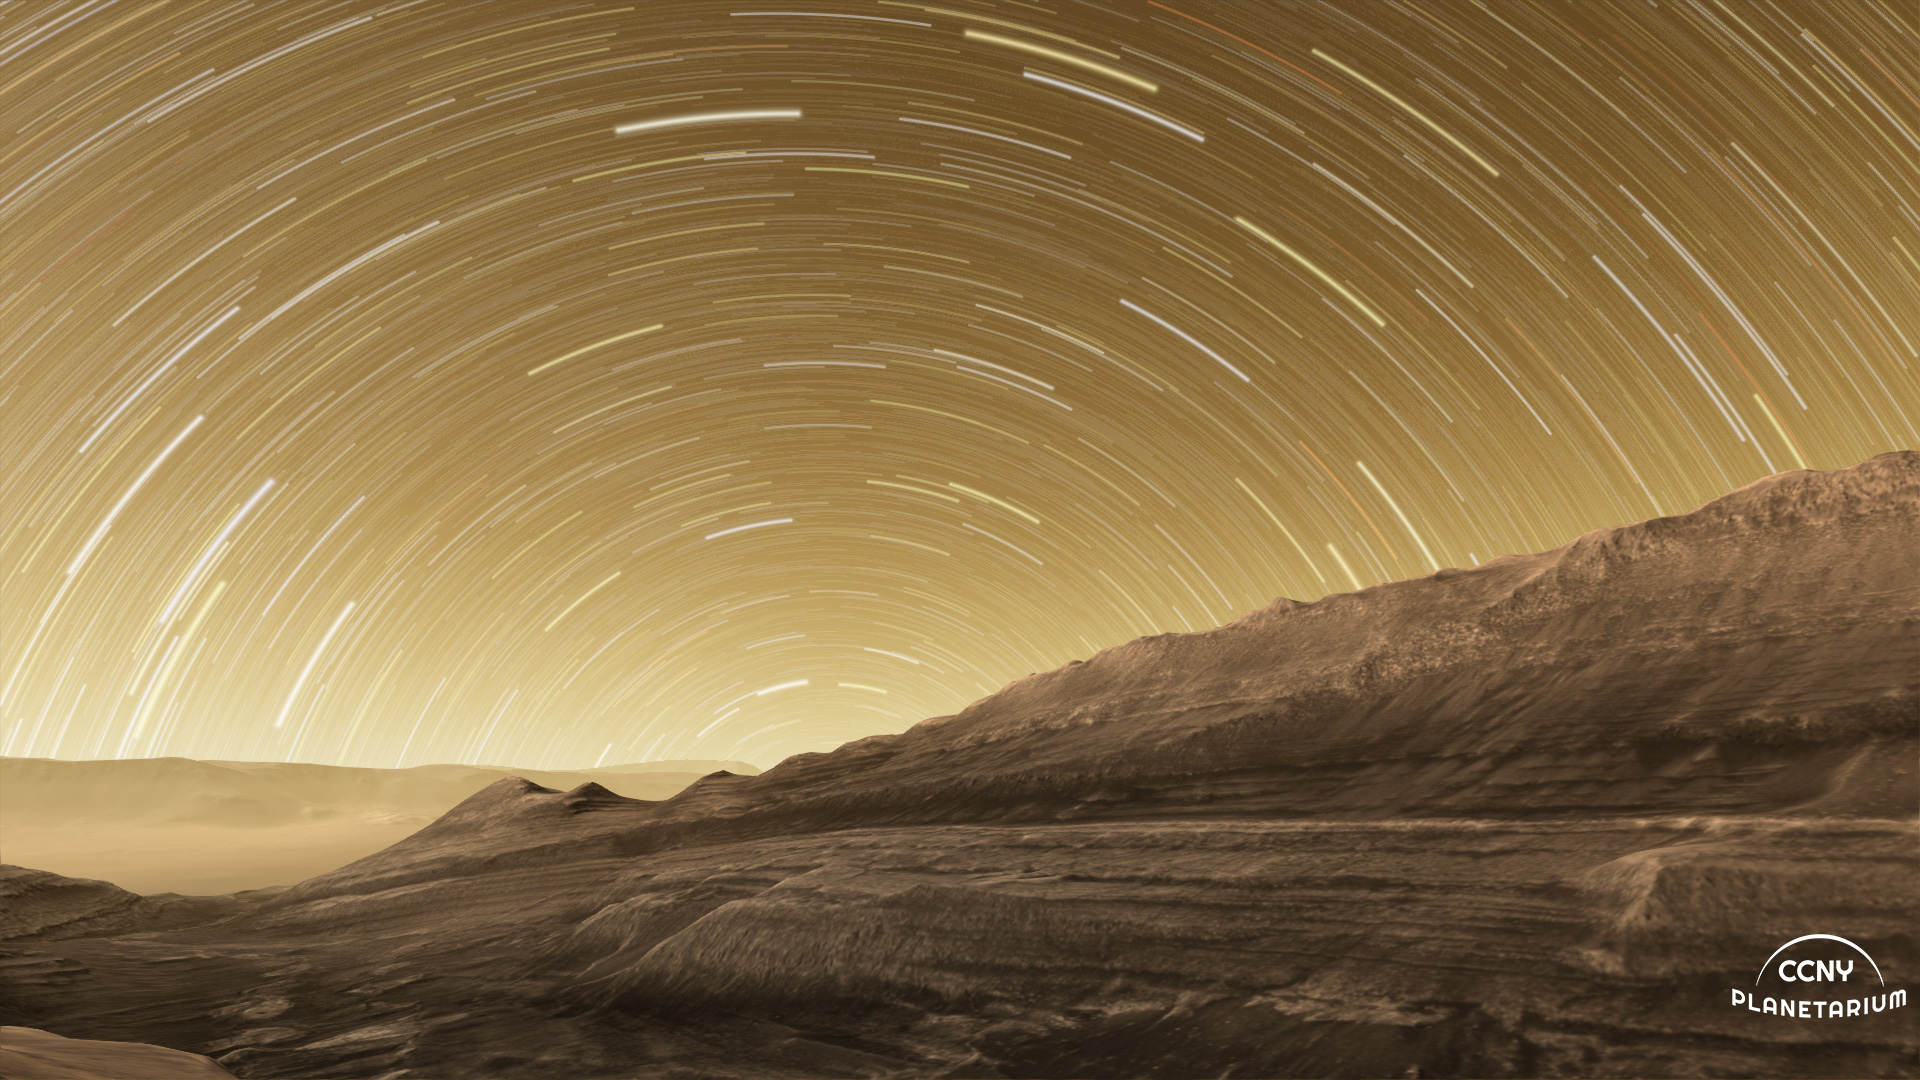
The output of this script will be one image that has taken the maximum values at every pixel from the collection of images in theStack.
Behold, the output:
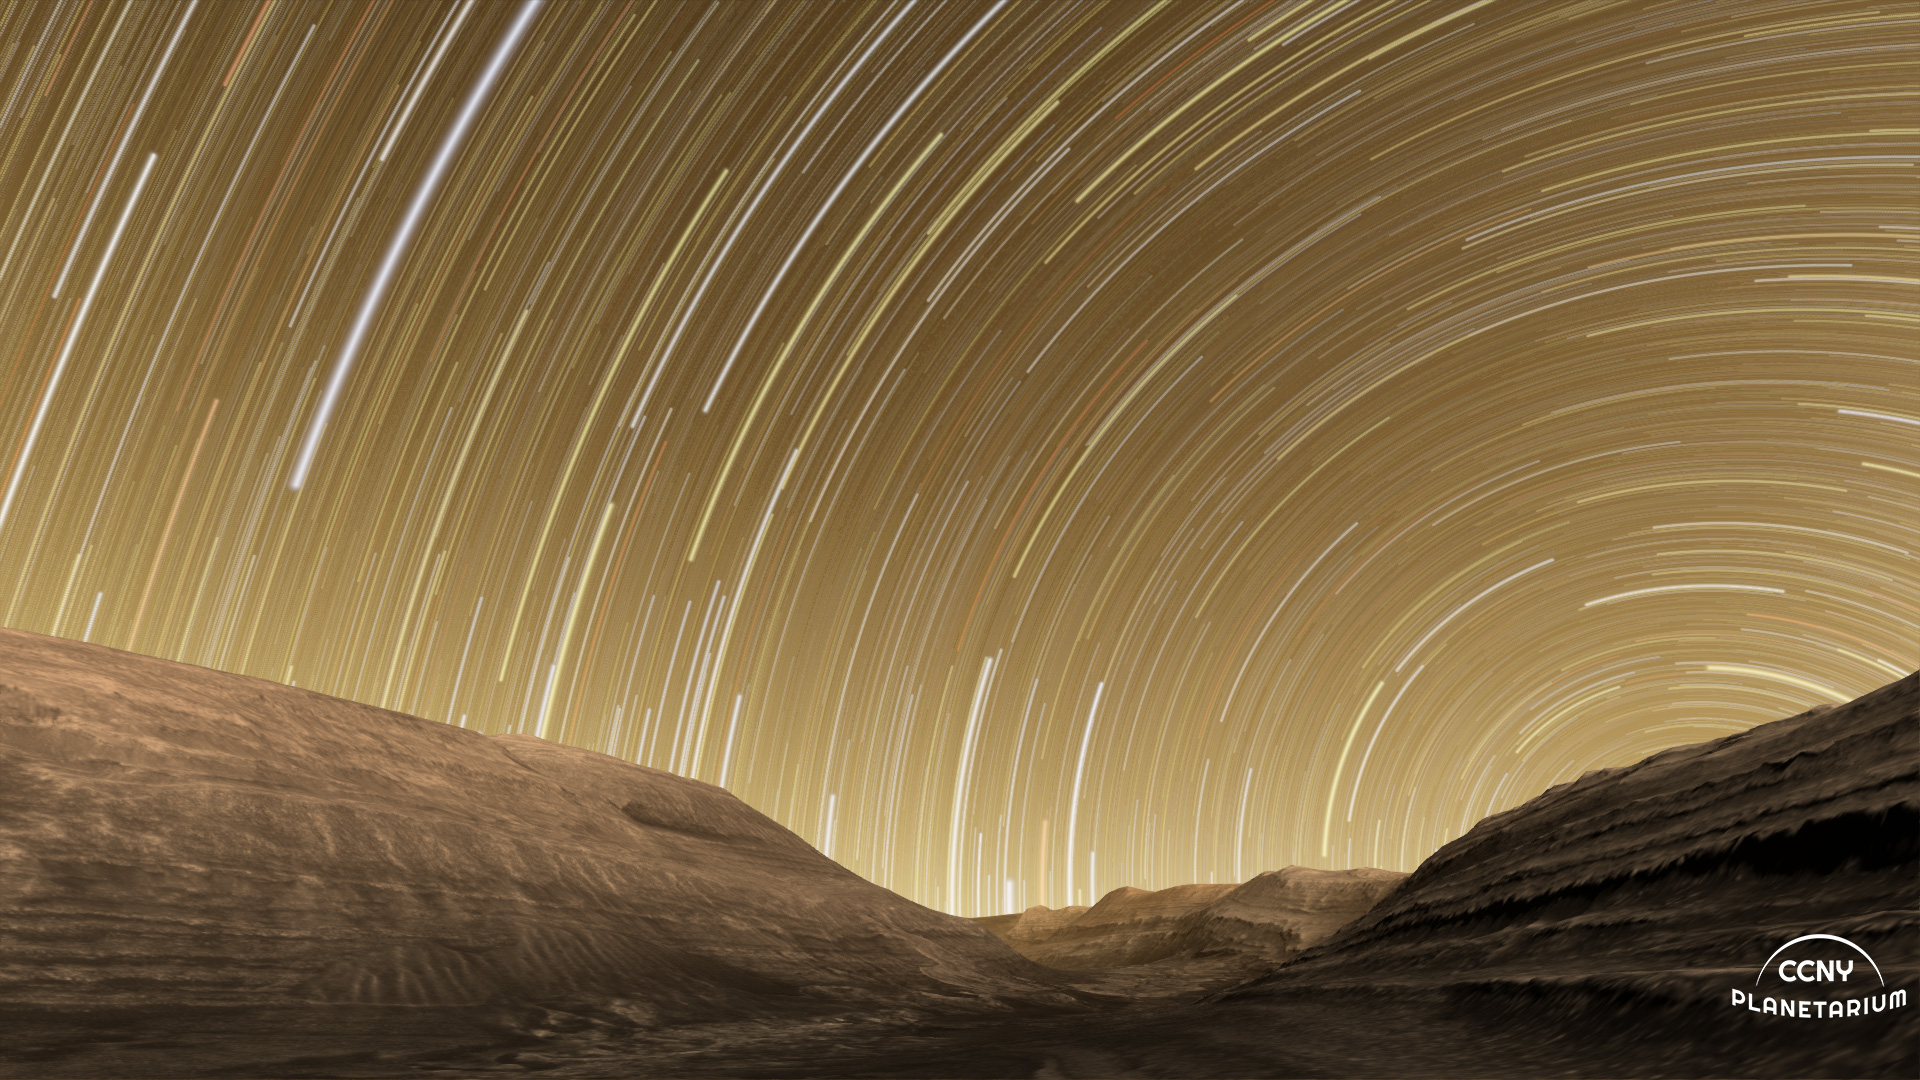
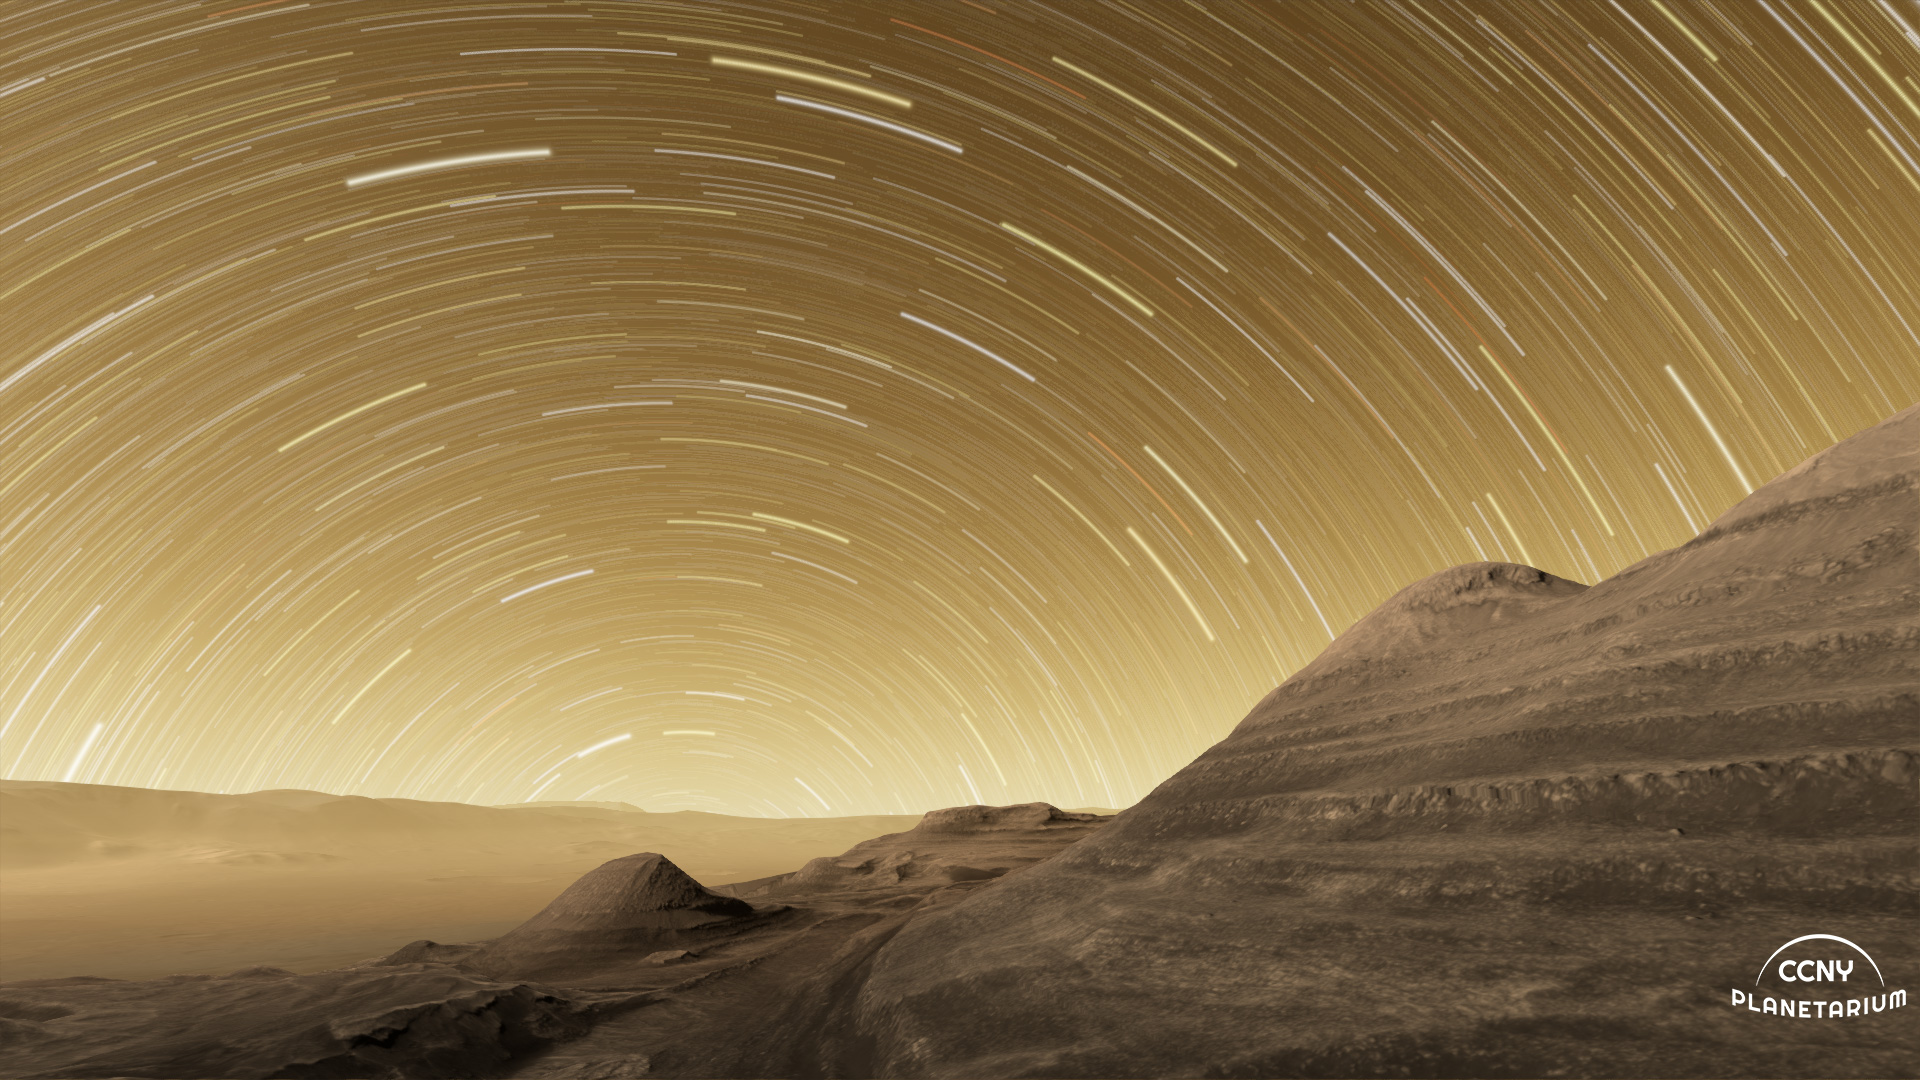
While it will still be a number of years before budding astrophotographers get to try this out for real, it’s not too hard to imaging setting up the ol’ Nikon on a tripod somewhere in the vast deserts of Mars and snapping a few frames, before heading back in to the shelter to prevent too much radiation exposure…
Credits: The content is rendered using the open-source Astrovisualization framework OpenSpace which is a collaboration between Linköping University, the American Museum of Natural History, Goddard’s Community Coordinated Modeling Center, New York University, and the University of Utah.
HiRISE Terrains are thanks to NASA/JPL/University of Arizona
About the author
Dr. Hedberg studied the ancient cosmologies of Ptolemy, Tycho, and Kepler as an undergrad at St. John’s College (Santa Fe) as part of the Program’s Mathematics tutorial, though the college didn’t have this beautiful tool when he attended there. Since then, his work in programming and science visualization sometimes takes delightful detours into the past, present and future.
No sense competing with the major #sciviz centers' gpus when it comes to photo-realistic renders of Mars - but I can have as much fun. Here are some new shots from Jezero Crater with @HiRISE topo data, done in my favorite ligne claire style. #Mars2020 #b3d #bnpr pic.twitter.com/JJclZOghYS
— James Hedberg (@jameshedberg) February 18, 2021